How to Build a Fence with Concrete Footings

Step 1 – Planning and Preparation
The first step is initial planning to make sure you have the right planning permits council, checked with your neighbours regarding the boundaries and have got all the correct tools, building materials and protective safety wear (see below).
Early spring/late autumn is the best time of year to build your fence and be aware of any underground wires.
Tools
- Tape measure
- Digging spade
- Drill
- Screwdriver
- Hammer
- Spirit level
- Builder’s line
- Saw
- Trowel
- Timber batten
- Bucket
- Fence post rammer
- Survey pegs
Building materials
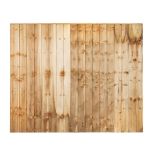
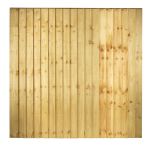
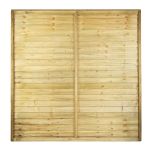
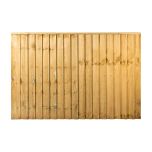
- Fence panels
- Timber to make fence posts
- Gravel
- Post concrete
- Fence post supports (timber batten)
- External use woodscrews
- Fence post caps
Protective safety wear
- Gloves
- Dust mask
- Goggles
Step 2 – Measure and Dig Out Fence Posts
Once you have the right materials, make sure the fencing area is clear of plants and debris. Then mark out the perimenter of your fence, or fenceline. Using a tape measure and timber batten (or builders line) to lay out your fenceline, hammer survey pegs into the ground at 1.8m (fence width) intervals, to mark where your posts will be. Use a spade to dig each fence post hole 1.8m apart (make sure distance is equal). Each hole should be around 600mm deep.
Step 3 – Fit Fence Posts
Now your fence post hole is ready, it’s time to fit the fence posts. Firstly, for each fence post cut two or three lengths of timber batten, ready to act as a temporary prop to hold the post in place, in the hole. Place your fence post into the middle of the hole and angle a piece of batten from the post to the ground, away from the hole. Screw the batten props to the posts, so the posts can stand alone. Make sure you use the spirit level to check that the fence post is vertical on each side. Do this for each fence post you have.
Next, place pieces of timber batten along the top and bottom of the post, between each fence post to mark where the fence will run and ensure the fence is straight and the same height. Make sure you keep using that spirit level!
Following this, add some gravel (about 100mm depth) to the hole for good drainage. Then prepare the concrete mix (according to the manufacturer guidelines) and pour into the fence post hole surrounding the fence. Use a trowel to smooth the surface, smoothing the concrete away from the timber post, to allow rainwater to drain from the post.
Step 4 – Fit the Fence Panels
To fit the fence panels to the posts, remove the temporary wooden props and screw the panels to each post. Keep checking that the panels are level and straight using the spirit level.
Step 5 – Cutting Fence Panels
You may need to cut a panel to fit the space. Mark the width of the panel you need and carefully cut the panel along the mark. Remove the framing battens from he unused piece of panel and fit to the freshly sawn edge of the panel you want to fit, to give it a neat finish. Fit your piece of panel as Step 4.
Step 6 – Finishing Touches
We recommend fitting post caps to the top of your posts, to help rainwater run off the top of the posts. Pre-drill a hole in the top of the caps and then screw into the top of the post.
To finish off, you can stain, treat and paint the fence as you like, and to help prolong the life of the fence. When treating, make sure you apply new coats every 2 to 3 years.


